Getting started
Contents
Getting started#
Installation of CubicWeb and dependencies#
In this tutorial, we choose to install CubicWeb as a Python Package in a Python3 virtual
environment, with pip; instead of using Debian installation.
We will also need to install psycopg2-binary if we use a postgresql database:
python3 -m venv venv-tuto
source venv-tuto/bin/activate
pip install cubicweb
pip install psycopg2-binary
Create a cube#
Now we have CubicWeb installed, we will need to create a cube, which will contain our application.
We will call our cube tuto:
cubicweb-ctl newcube tuto -d tuto
This command will lead to several questions, as a short description of the new cube. Then, it will
create a directory named tuto (as we specified it with -d) reflecting the structure
described in Standard structure for a cube.
To install our new cube on the virtual environment, run in the tuto/cubicweb-tuto directory:
pip install -e .
All cubicweb-ctl commands are described in details in cubicweb-ctl tool.
Create and start our instance#
Now we created our cube, we need to instantiate it to launch our website:
cubicweb-ctl create tuto tuto_instance
Several questions will be asked to parameter our new instance, most of them can be answered with default value, some (as DB user and password) can’t. At the end, it will be asked if we want to create the database now. We do not need it right now, as we will create in further steps.
Then, we can launch our instance in debug mod (with -D option):
cubicweb-ctl start -D tuto_instance
You can now access the instance from http://localhost:8080
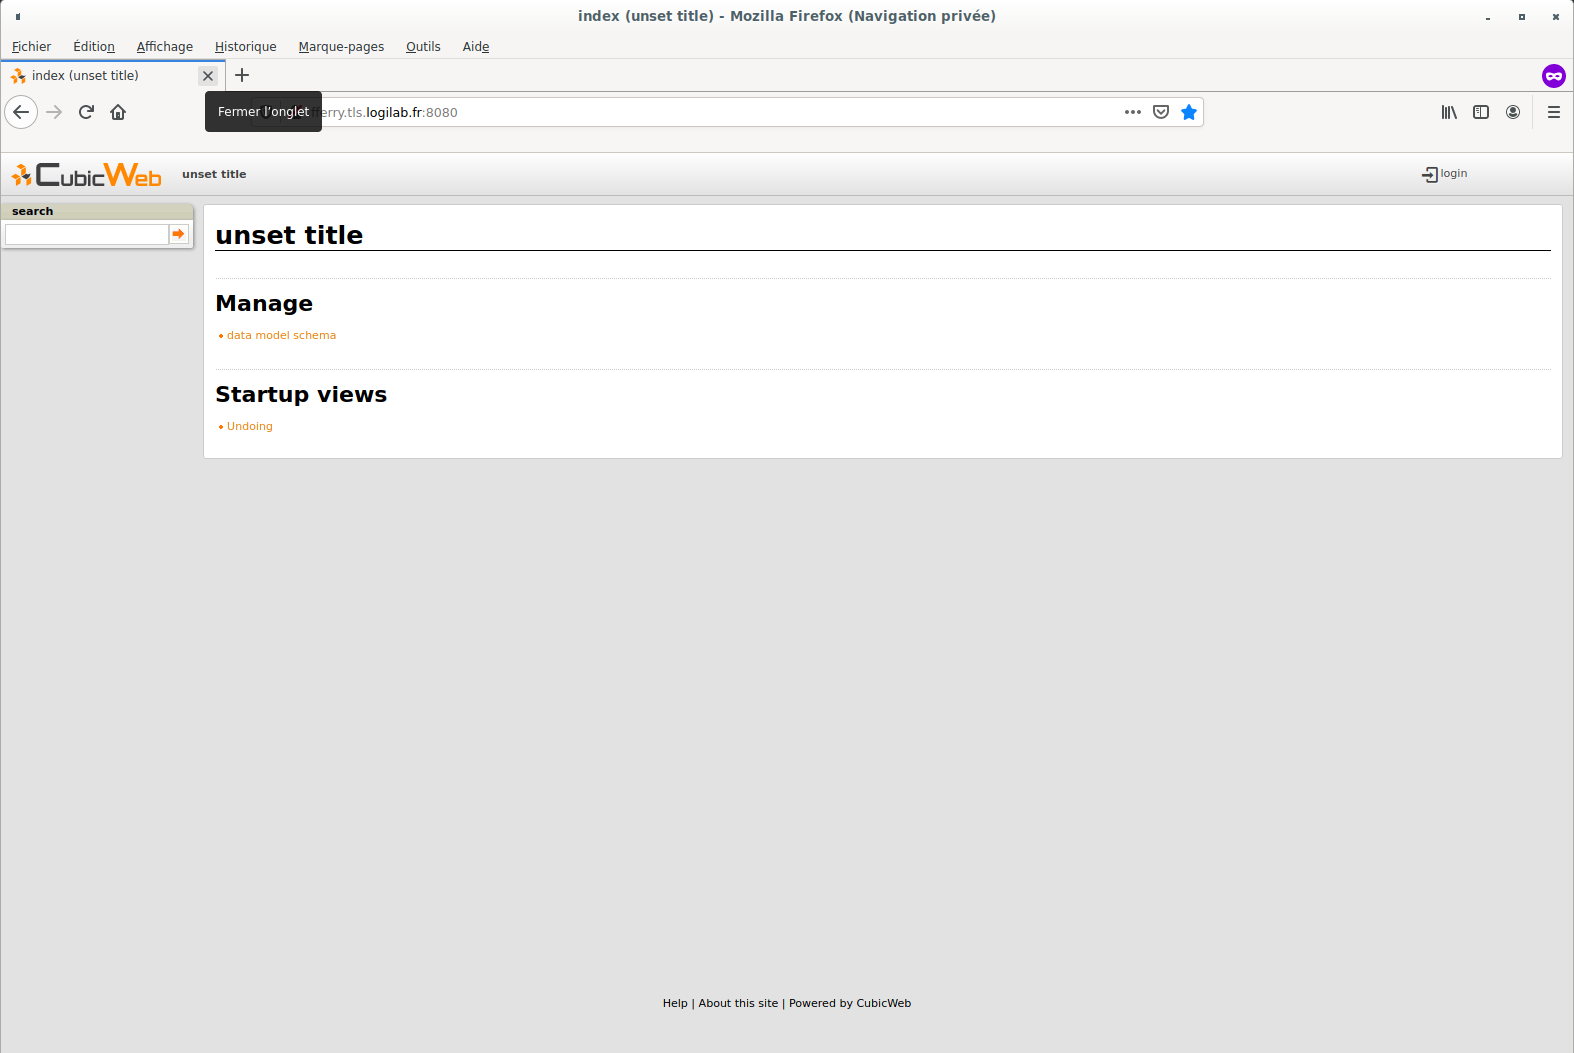
As you can see, we already have several functionalities which come out-of-the-box, for instance user management, data model schema displaying, etc.
Now, we need to design our data model, to be able to create and display some museums.
Defining our data model#
We want to display some museums, each have a name, a postal address, maybe one or several director, a geographical position (latitude and longitude) and are in a city. Some of these concepts will be classes, others attributes.
Thus, we will write the following code in our tuto/cubicweb_tuto/schema.py file:
from yams.buildobjs import EntityType, String, Float, RelationDefinition, Int


class Museum(EntityType):
    name = String()
    latitude = Float()
    longitude = Float()
    postal_address = String()


class City(EntityType):
    name = String()
    zip_code = Int()


class Person(EntityType):
    name = String()
    email = String()

class is_in(RelationDefinition):
    subject = 'Museum'
    object = 'City'
    cardinality = '1*'

class director(RelationDefinition):
    subject = 'Museum'
    object = 'Person'
    cardinality = '**'
The first step is the import from the yams package necessary classes to build
the schema.
This file defines the following:
a Museum has a name, a latitude, a longitude and a postal address as attributes.
the name and postal address are strings;
the latitude and longitude are floating numbers.
a City has a name and a zip code as attributes.
a Person has a name and an email as attributes
a Museum must be linked to a City using the is_in relation
*means a City may be linked to 0 to N Museum,1means a Museum must be linked to one and only one City. For completeness, you can also use+for 1 to N, and?for 0 or 1.
a Museum can be linked to 0 or several Person using the director relation, and a Person can be linked to 0 or several Museum.
Of course, there are a lot of other data types and things such as constraints, permissions, etc, that may be defined in the schema, but those will not be covered in this tutorial.
In our case, our relations have only on subject type. Thus, we can define them directly in Museum class, using SubjectRelation, like this:
from yams.buildobjs import EntityType, String, Float, SubjectRelation, Int


class Museum(EntityType):
    name = String()
    latitude = Float()
    longitude = Float()
    is_in = SubjectRelation("City", cardinality="1*")
    director = SubjectRelation("Person", cardinality="**")
    postal_address = String()


class City(EntityType):
    name = String()
    zip_code = Int()


class Person(EntityType):
    name = String()
    email = String()
Once the schema created, we need to create our database, and then initialise it with the aforementioned schema:
cubicweb-ctl db-create tuto_instance
cubicweb-ctl db-init tuto_instance
Note
At the end of the db-create, it is asked if we want to run database initialisation, thus we can avoid running db-init.
Note
In our case, we had no existing database, so we had to initialize a database. But with a pre-existing database and schema, we have to use migration scripts, see Migration for more information about this topic.
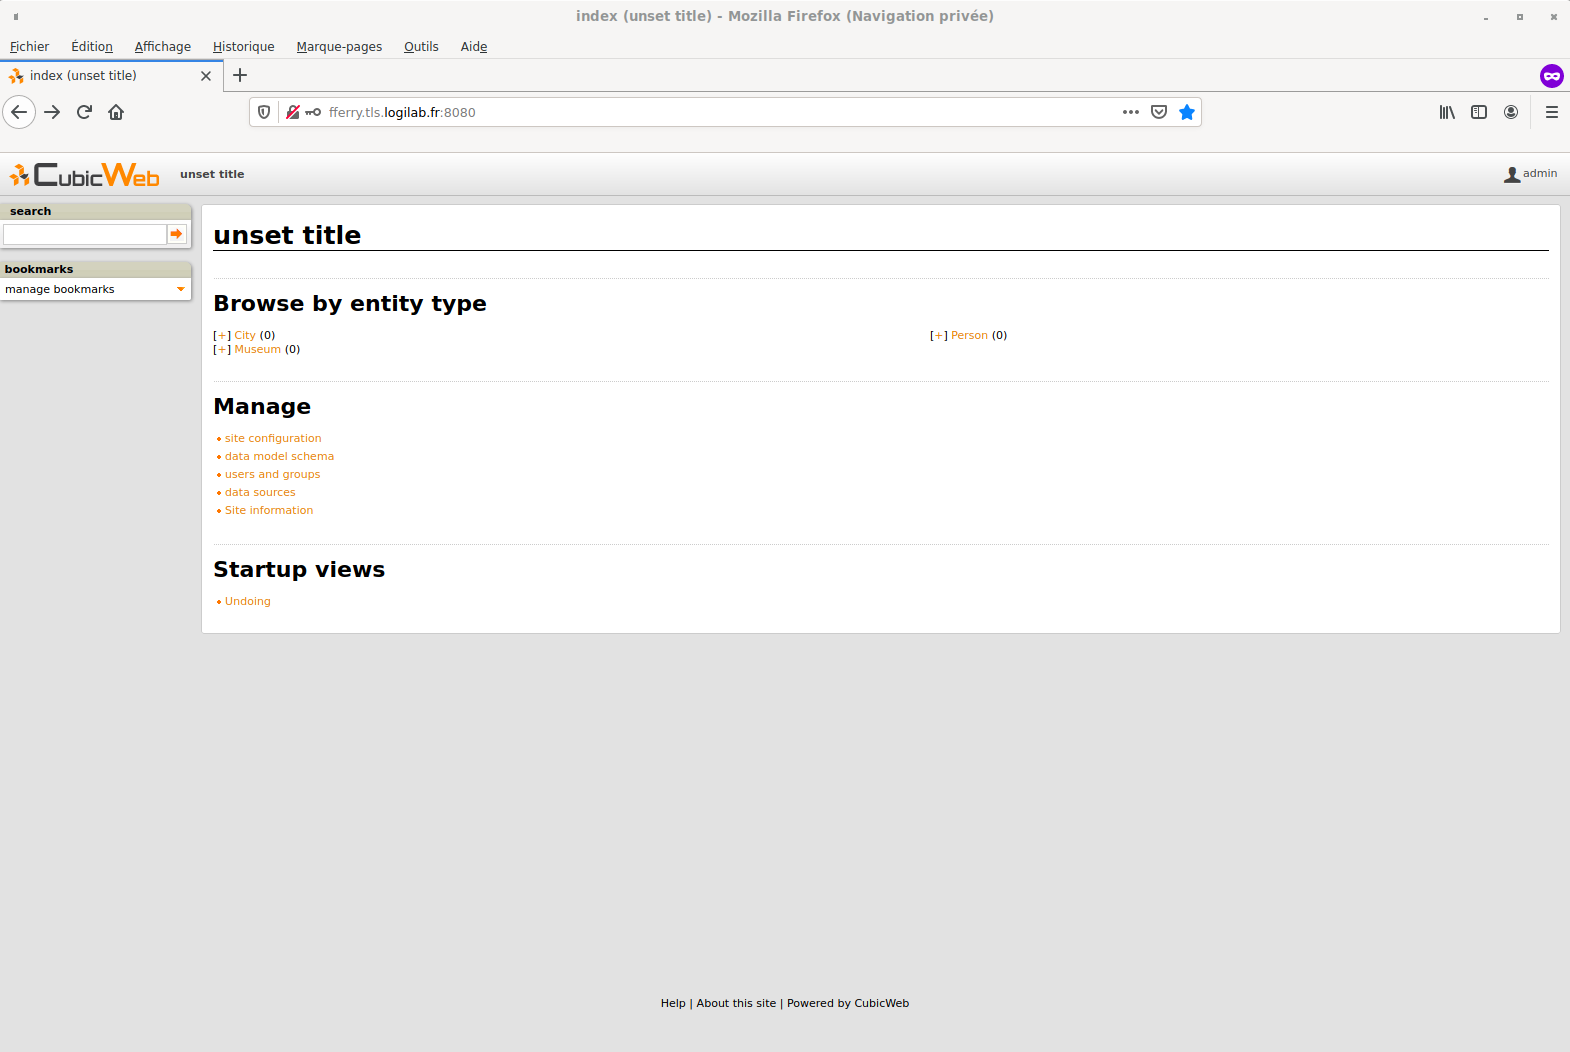
If we launch again our instance, we should see our new entity types in the homepage: City, Museum, Person; and for each, the number of instance of these types (currently 0, as we don’t have any of these entities).

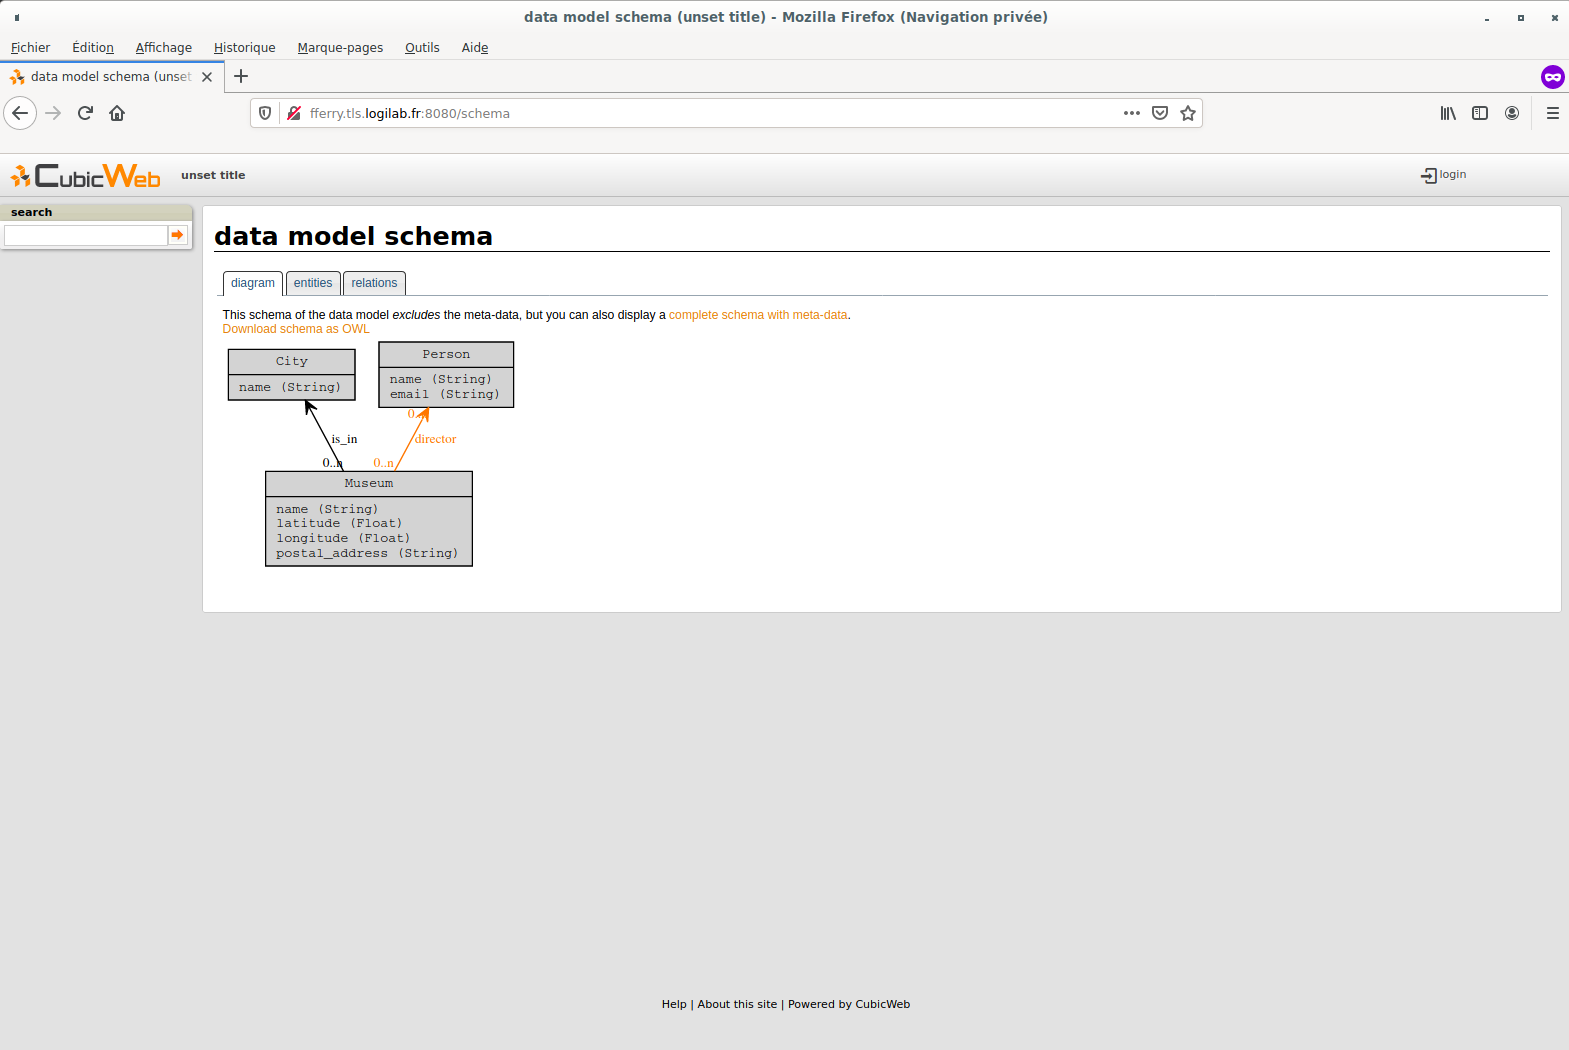
By clicking on data model schema, we can see our data model, with our three classes and two relations.
Adding data#
Now we have our entity types defined, we will see how to add some entities. To do this, we need to be connected as administrator, using the login button at right top of the site, or visiting http://localhost:8080/login. As you can see, we have more choices in the homepage, and beside each entity type, we have a +, allowing to create a new entity of this type.
As we built our schema, a Museum have to be linked to a City, so we first need to create a City before adding a museum. To do this, we just have to click on the + beside City (0), and fill the form.
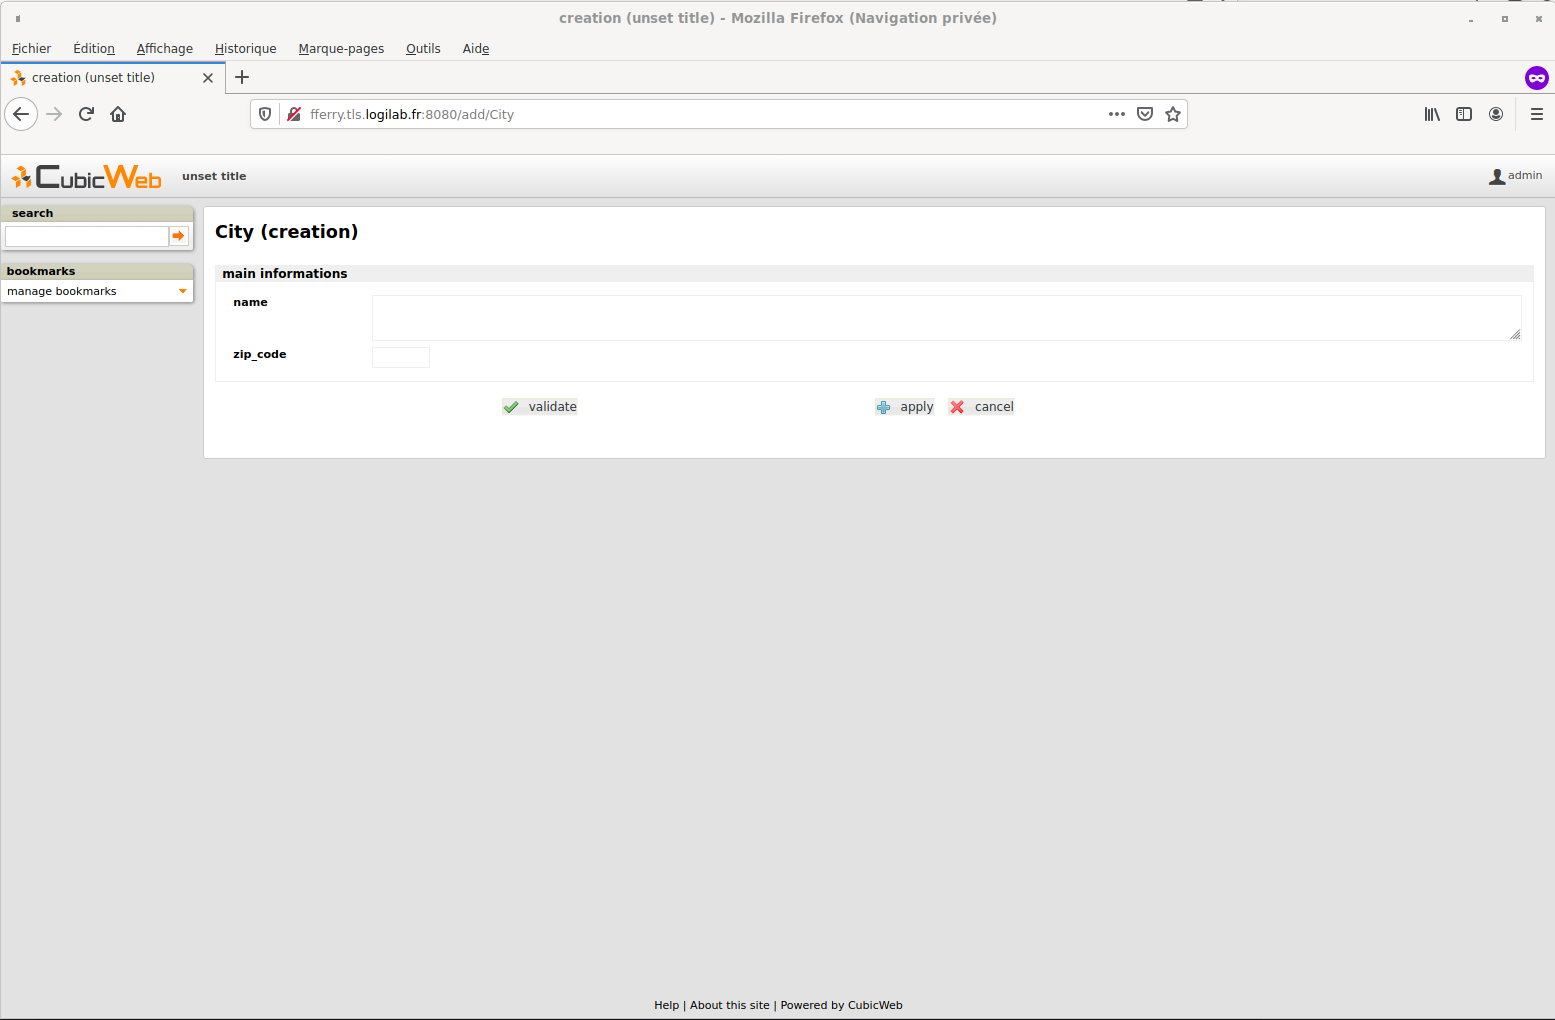
As you can see, all the fields comes directly from the schema and the form is automatically generated by CubicWeb.
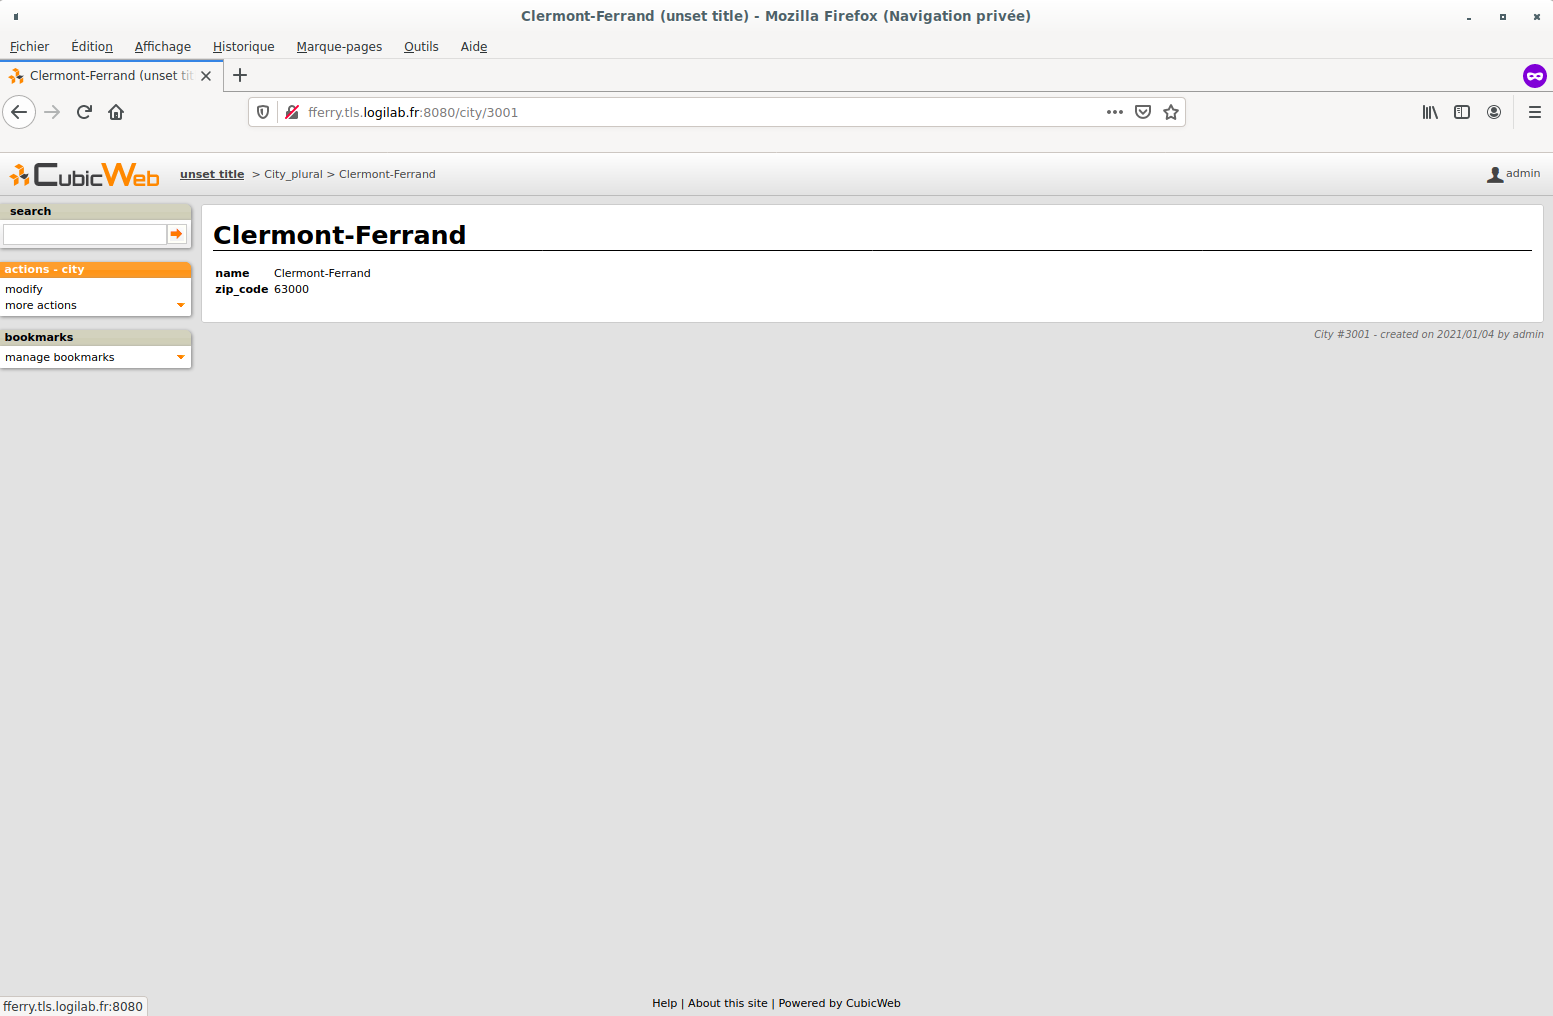
When all the fields are fulfilled, we just have to validate, and we are redirected on the city page, where we can see its different attributes, and on the left, several possible action; as modify our entity or delete it.
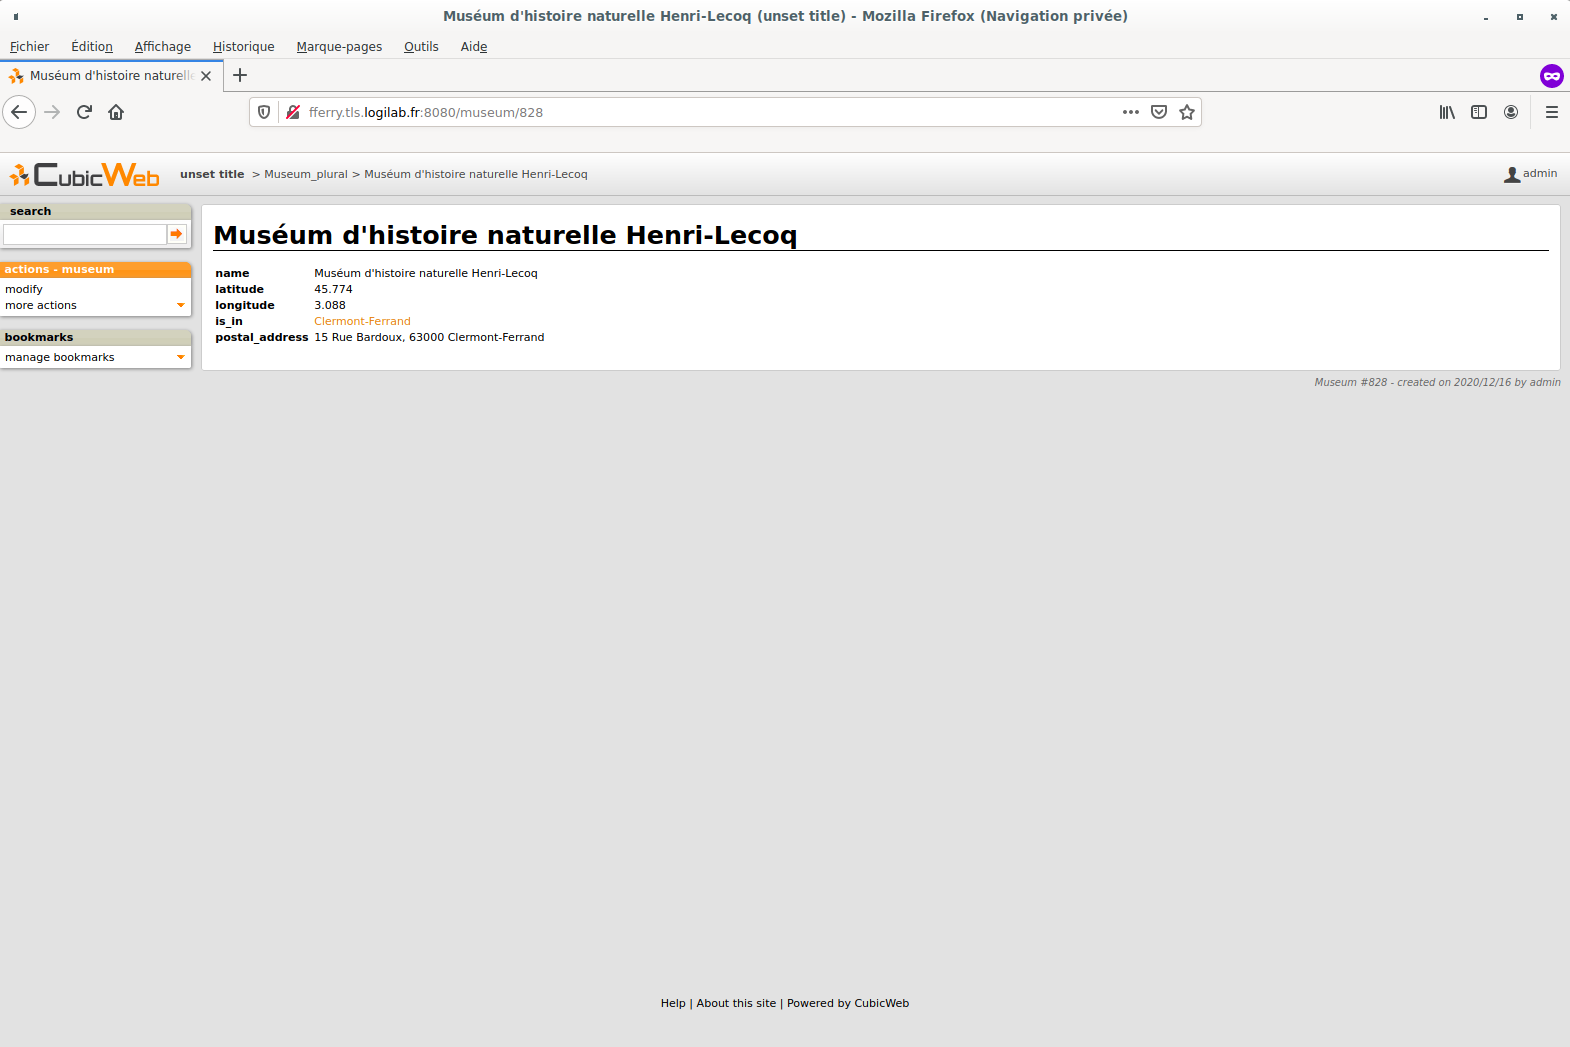
Now we have our first city, we will add its three museums. As for the city creation, we have an autogenerated form; but with a little particularity: a field to choose the city to link with our museum. This field must be fulfilled to create our entity.

As for the city, we are redirected on the entity view after its creation.
We then add two other museums. When we go back to the homepage, we can see all three museums when we click on Museum_plural (3).
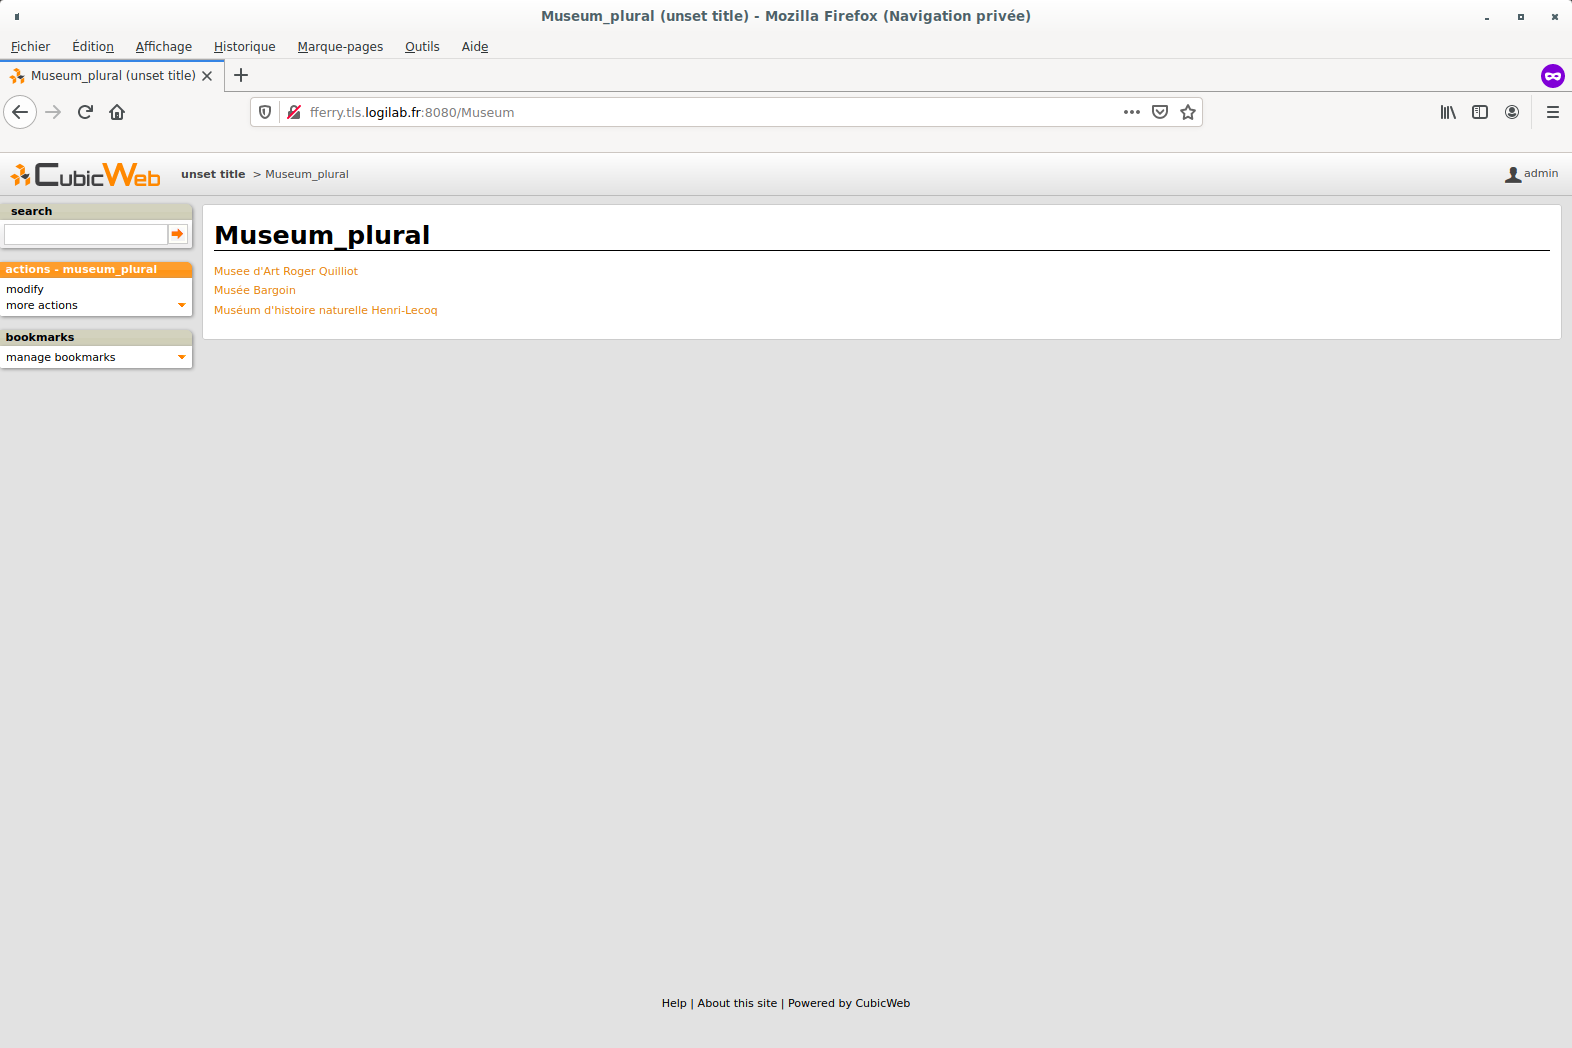
If we click on City in the homepage, we do not have a list view, but our single entity view. This is because in the first case, the framework chose to use the ‘primary’ view since there is only one entity in the data to be displayed. As we have three museums, the ‘list’ view is more appropriate and hence is being used.
There are various other places where CubicWeb adapts to display data in the best way, the main being provided by the view selection mechanism that will be detailed later.
Customize museum primary view#
The ‘primary’ view (i.e. any view with the identifier set to ‘primary’) is the one used to display all the information about a single entity. The standard primary view is one of the most sophisticated views of all. It has several customisation points, but its power comes with uicfg, allowing you to control it without having to subclass it. More information are available here : The Primary View.
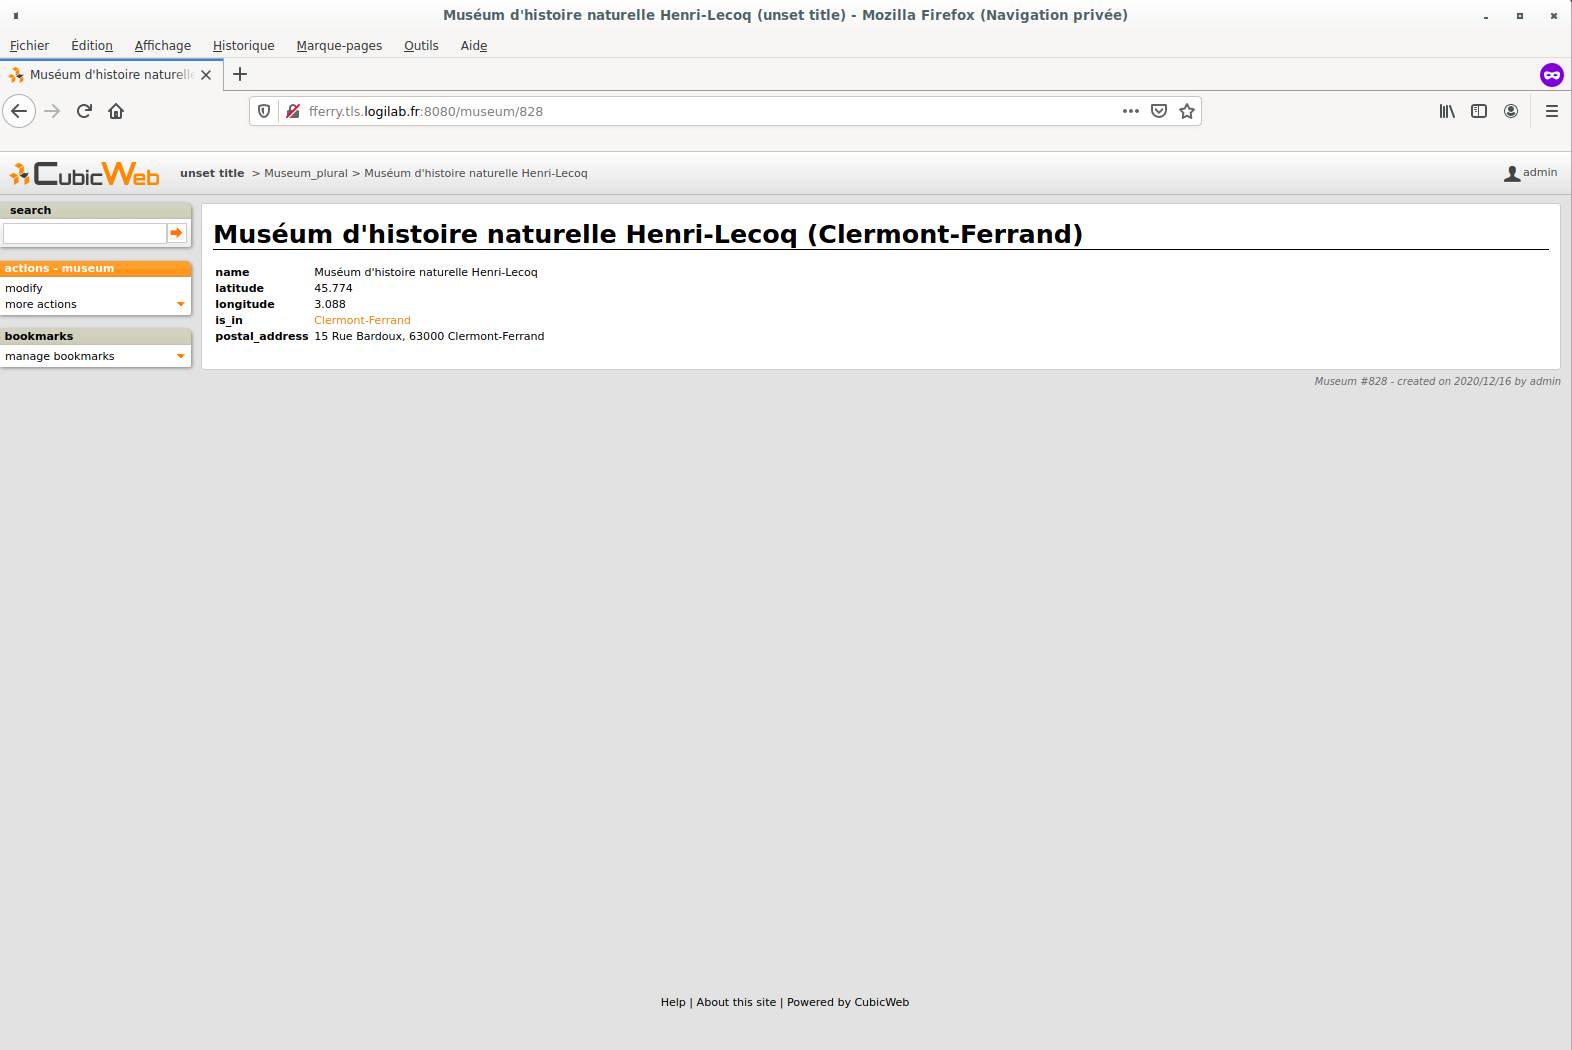
Now we have several museums, we want an easier way to identify its city when we are on the
museum page. To achieve this, we will subclass PrimaryView and override render_entity_title
method in tuto/cubicweb_tuto/views.py:
from cubicweb.predicates import is_instance
from cubicweb.web.views.primary import PrimaryView


class MuseumPrimaryView(PrimaryView):
    __select__ = is_instance("Museum")

    def render_entity_title(self, entity):
        """Renders the entity title.
        """
        city_name = entity.is_in[0].name
        self.w(f"<h1>{entity.name} ({city_name})</h1>")
As stated before, CubicWeb comes with a system of views selection. This system is, among other things, based on selectors declared with __select__ (you’ll find more information about this in the Registries and application objects chapter). As we want to customize museum primary view, we use __select__ = is_instance(“Museum”) to tell CubicWeb this is only applicable when we display a Museum entity.
Then, we just override the method used to compute title to add the city name. To reach the city name, we use the relation is_in and choose the first and only one linked city, then ask for its name.
Use entities.py to add more logic#
CubicWeb provides an ORM to easily programmaticaly manipulate
entities. By default, entity types are instances of the AnyEntity class,
which holds a set of predefined methods as well as property automatically generated for
attributes/relations of the type it represents.
You can redefine each entity to provide additional methods or whatever you want to help you write your application. Customizing an entity requires that your entity:
inherits from
cubicweb.entities.AnyEntityor any subclassdefines a
__regid__linked to the corresponding data type of your schema
You may then want to add your own methods, override default implementation of some method, etc…
As we may want reuse our custom museum title (with city name, as defined in previous section), we will define it as a property of our Museum class.
To do so, write this code in tuto/cubicweb_tuto/entities.py:
from cubicweb.entities import AnyEntity, fetch_config


class Museum(AnyEntity):
    __regid__ = "Museum"

    @property
    def title_with_city(self):
        return f"{self.name} ({self.is_in[0].name})"
Then, we just have to use it our previously defined view in tuto/cubicweb_tuto/views.py:
from cubicweb.predicates import is_instance
from cubicweb.web.views.primary import PrimaryView


class MuseumPrimaryView(PrimaryView):
    __select__ = is_instance("Museum")

    def render_entity_title(self, entity):
        """Renders the entity title.
        """
        self.w(f"<h1>{entity.title_with_city}</h1>")
Conclusion#
In this first part, we laid the cornerstone of our futur site, and discovered some core functionalities of CubicWeb. In next parts, we will improve views and see how to import all our data.